Introduction
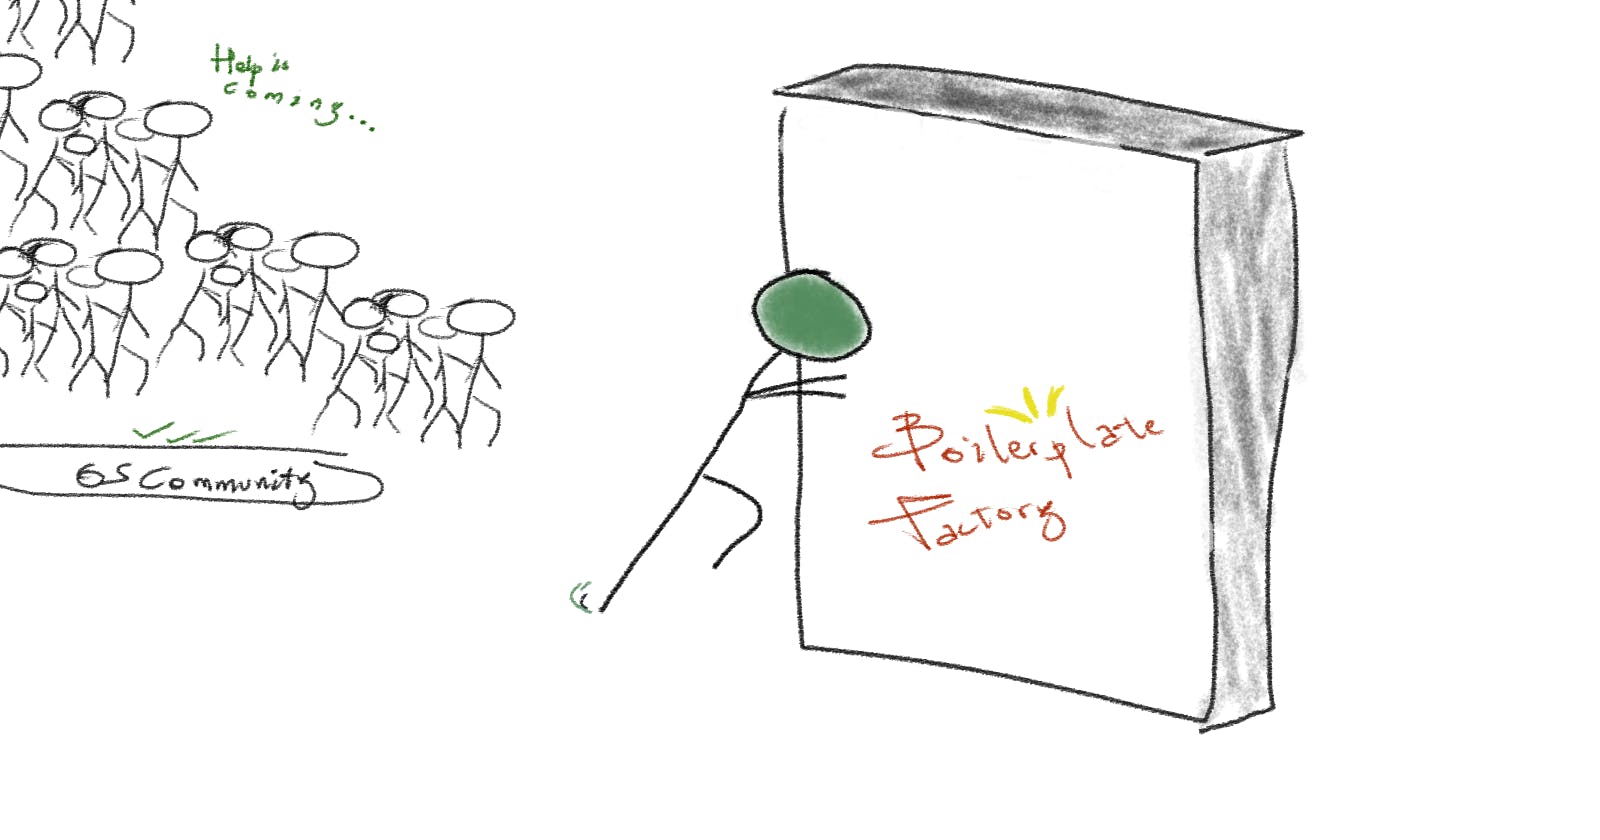
Writing Redux logic can be frustrating. The biggest pain point for Redux users is the amount of boilerplate code required. Redux Toolkit contains libraries and functions, which simplifies most Redux tasks, and makes it easier to write Redux applications. The Redux team in their official documentation even recommends Redux Toolkit as the official approach for writing Redux logic. This article by Ohans Emmanuel provides an introductory background to what Redux Toolkit is, the problems it solves, libraries included and more.
In this article however, I will be demonstrating how much simpler we can write Redux logic using Redux Toolkit. For illustration, we will be building out a Todo app (cliche... :( I know, I know...).
You can find the final code on GitHub in this repository.
Installation
Redux Toolkit is available via npm or yarn, and installation is quite straightforward.
# NPM
npm install @reduxjs/toolkit

# Yarn
yarn add @reduxjs/toolkit
if you're creating a new app, use create-react-app with redux template
npx create-react-app my-app --template redux
Creating State Slices
A state slice of a Redux store splits the state object into multiple "slices" or "domains", separated by keys, and provides separate reducer functions to manage each individual data slice.
The createSlice() function is probably the most useful helper function which Redux Toolkit provides. It accepts (as a parameter) an object of reducer functions for that slice, the slice name, and an initial state, and generates corresponding slice reducers and action creators.
import { createSlice } from "@reduxjs/toolkit";

//Intial state object
const initialState = {
  ids: [1, 2],
  item: {
    1: { id: 1, description: "Remember to buy eggs" },
    2: { id: 2, description: "Learn German" },
  },
};

//CreateSlice Function
const todo = createSlice({
  name: "todo",
  initialState,
  reducers: {
    //Reducer logic
    deleteItem(state, { payload }) {
      const filteredIds = state.ids.filter((id) => id !== payload);
      state.ids = filteredIds; //State mutation possible because of Immer

      let filteredItems = {};

      filteredIds.forEach((id) => (filteredItems[id] = state.item[id]));
      state.item = filteredItems; //State mutation
    },
    addItem(state, { payload }) {
      state.ids.push(payload.id); //State mutation

      state.item[payload.id] = payload;
    },
  },
});

//Automatically generated action creators
export const { deleteItem, addItem } = todo.actions;

//Automatically generated slice reducer
export default todo.reducer;
The code snippet above illustrates the state slice for our todo application. It is important to note that directly mutating state is only possible because Redux Toolkit comes bundled with the Immer library. Please do not mutate state outside Redux Toolkit.
Configuring a Redux Store
A store holds the whole state tree of your application. A store is not a class. It's just an object with a few methods on it.
The configureStore() function is simply the standard Redux createStore() function, but with better development experience. It provides much simplified configuration options, and great defaults (e.g. redux-thunk comes configured by default). As a parameter, it accepts a single configuration object with various options. For our use case, we only need the reducer option of the configuration object. More information about the API is available in the official documentation.
import React from "react";
import { render } from "react-dom";
import App from "./App";
import { Provider } from "react-redux";
import { configureStore } from "@reduxjs/toolkit";
import todoReducer from "./slices/todoSlice";
import "./index.css";

//Creating the Store
const store = configureStore({
  reducer: {
    todo: todoReducer,
  },
});

render(
  <Provider store={store}>
    <React.StrictMode>
      <App />
    </React.StrictMode>
  </Provider>,
  document.querySelector("#root")
);
We can pass slices of reducers, like{ todo : todoReducer, visibilityFilter : visibilityFilterReducer }, and configureStore() will automatically create the root reducer. We could also use Redux combineReducers() function to generate the rootReducer.
Our Redux store is now available to our todo app. You can find the final code on GitHub in this repository.
Other APIs exposed by Redux Toolkit which I have found particularly useful include;
createAsyncThunk(): which helps create thunks easily.createEntityAdapter(): which generates prebuilt reducers and selectors for performing CRUD operations on a normalised state structure.
Conclusion
Redux Toolkit provides tools which are beneficial to Redux users. With less boilerplate code, software developers can spend more time on solving actual problems instead of writing code.
